Revamp Your Business: The Ultimate Door Painting Handbook

If you are looking for an easy but striking renovation,
door painting is a great way to create an impact without breaking the bank! In this comprehensive guide, we'll take you through the essential steps to achieve a professional finish that will leave a lasting impression. Let's dive into the world of door painting!
Before You Paint The Doors

Before you pick up that paintbrush, it's crucial to lay the groundwork for your door painting project. The steps in this guide help ensure a finished project that you can be proud of every time someone walks through the door!
When Repainting
Repainting doors is similar to any painting project, attention to detail is paramount. Start by ensuring your color choice matches your vision. Next, we'll guide you through the process of stripping the old paint and addressing any other important considerations.
Color and Finish
Selecting the right color and finish for your door repainting project is crucial to achieving a successful outcome. Here, we'll explore various options and guide you in making an informed decision that complements your business space.
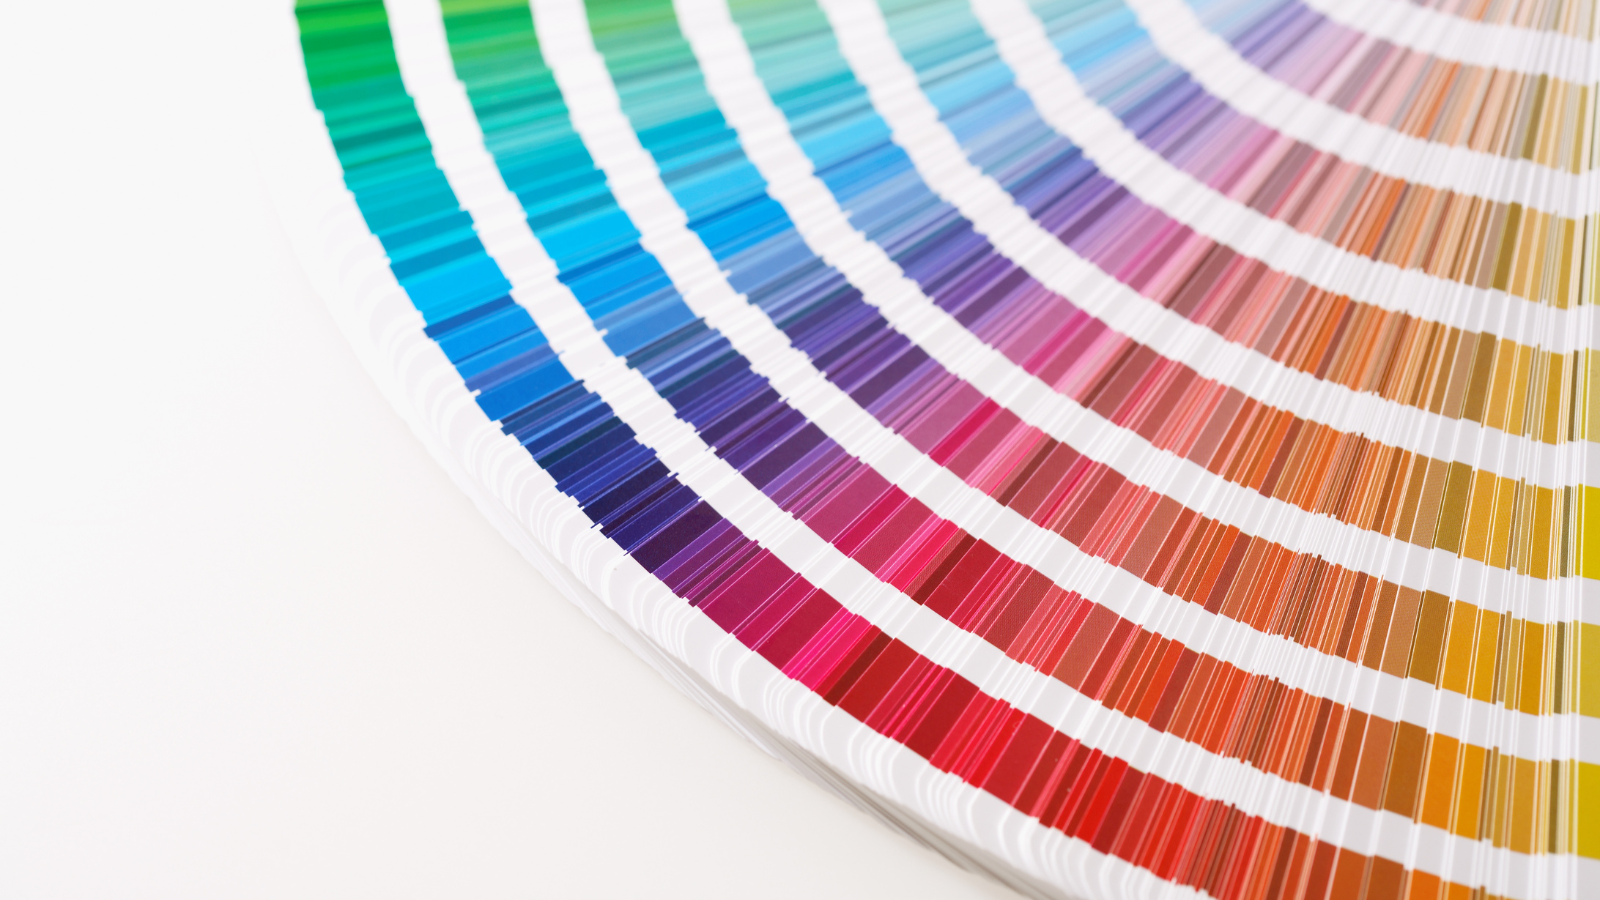
Color Selection:
Choosing the right color of door paint is important. You want a color that aligns with your existing décor and brand while creating a professional and inviting entry for your clients. Depending on the impact your looking to make with your repainted door, you might consider a door paint that offers bold and contrasting colors to catch the attention of foot traffic or a neutral palette that imparts a more subtle and professional appearance. Choosing a lighter color when repainting your door will show less dirt and wear over time, but if your existing door has some dings and imperfections in the grain, a darker color can mask those but may require more frequent cleaning to keep looking fresh.
Finish Options:
The finish, also known as sheen, plays a significant role in the final appearance and durability of the paint job, so it is wise to consider the 5 primary finishes available:
Flat/Matte: Provides a smooth, non-reflective finish to a newly repainted door. Ideal for hiding imperfections but may not be as durable or easy to clean.
Eggshell: Offers a subtle, low-sheen finish that is easier to clean than flat paint, making it a good choice for businesses when choosing painted wood doors for their entry.
Satin: Provides a soft, pearl-like finish with some sheen. It balances durability and aesthetics, making it suitable for a wide range of doors.
Semi-Gloss: Offers a noticeable sheen and is highly durable and washable. It's often used on doors that need to withstand heavy traffic or exposure to moisture.
Gloss: Provides a high-gloss, shiny finish. It's exceptionally durable and easy to clean but may highlight imperfections.
Remember that the choice of color and finish should align with your business's image and the door's function within your space.
The Right Tools
Equipping yourself with the correct tools is essential for achieving a flawless finish when repainting doors. Here's what you need to know about the different types of brushes and the benefits of using a spray gun for efficiency and a professional touch:
Brushes:
Brushes are a traditional and versatile tool for painting doors. There are several types to choose from:
Natural Bristle Brushes are ideal for oil-based paints and varnishes. They provide a smooth finish but can absorb water from latex paints, making them less suitable for water-based paints. Synthetic brushes are used with water-based paints, which are easy to clean and maintain. They work well for most door painting projects.
Most brushes are straight-edged, but angled brushes are useful for cutting in and edging, allowing for precise paint application in corners and along door frames.
Spray Gun:
A spray gun is not necessary when painting doors, but if you have more than one door to paint or have large areas, a spray gun can give you great efficiency and consistency.
If you do not want to purchase a paint spray gun, there may be options to rent it at your local hardware stores.
When selecting your tools, consider the size of the door, the type of paint you're using, and your experience level. Properly chosen tools will contribute significantly to the quality and efficiency of your door repainting project.
Get The Best Look After Painting Doors
To achieve a flawless finish when repainting doors, it's essential to follow a well-laid-out plan. These steps, from removing hardware to the final coat of paint, will ensure your repainted door looks its best and stands the test of time.
Removing Hardware
Removing hardware such as handles, knobs, and hinges is a crucial step in achieving a seamless paint job that makes a statement. Here's why it's important:
Clean Finish:
Taking off hardware ensures you can paint the entire door evenly, avoiding any areas these fixtures might obscure. This results in a cleaner, more professional look.
Easier Sanding: Sanding a door becomes much easier when you don't have to navigate around knobs and handles. Removing hardware allows you to create a smooth canvas for your paint.
Extended Hardware Life:
Taking care of your hardware separately means it won't be exposed to paint chemicals, potentially extending its lifespan.
Preparing the Surface
Now that we have chosen the paint, brushes, finish, and removing hardware, it’s time to start preparing the surface for your soon-to-be newly repainted door! Here is a suggested plan for creating the neatest and longest-lasting look:
Cleaning:
Clean the door surface to remove dirt, dust, and grease. A mixture of mild detergent and water works well. Rinse thoroughly and allow it to dry completely.
Filling Holes: Inspect the door for holes, dents, or imperfections. Fill these using a suitable wood filler or putty. Sand the filled areas smooth once they're dry to create an even surface.
Now that you have a clean surface and any imperfections have been filled in with putty or wood filler, it’s time to prepare the door for painting.
Sanding
It’s important to sand a door before painting. This pivotal step in the door painting process directly influences the final appearance of your paint job.
Start with coarse-grit sandpaper (around 80-100 grit) to remove old paint and imperfections. Then, move to finer-grit sandpaper (120-220 grit) for a smoother finish.
Make sure you apply even pressure to ensure a smooth surface and sand toward the wood grain. Once you have the surface sanded, ensure you completely remove any dust generated, wiping down the finished surface with a damp cloth and letting it dry before inspecting the door surface closely in bright lighting before moving on to the priming step.
Priming
Priming offers several benefits, creating an essential foundation for any paint job, especially when repainting doors that see a lot of use. Primer acts as a bond for your paint, reducing peeling or chipping; it helps the color be universal across the door, whereas depending on the wood, not using primer can leave you with an uneven-looking paint job.
Painting
The final step is the door painting itself, which involves applying the paint and adding those finishing touches for a professional outcome. In most cases, we recommend you use 2 coats of paint on a door, allowing the first coat to dry completely. Follow the paint manufacturer's guidance, but be aware humidity can slow the drying process, so make sure your door surface is completely dry before proceeding with a 2nd coat.
After the final coat, inspect the door for any imperfections. Touch up any spots that need attention, and remove any painter's tape carefully. Then, you are ready to install any removed hardware and put your newly painted door to use!
By following these steps, you can ensure your painted door looks its best and remains a stunning feature in your space for years to come.
Tips for Painting Doors
For a smoother and more efficient door painting experience, consider these expert tips:
Utilize a spray gun for a more even and professional finish.
Plan your project thoroughly, from color selection to final touch-ups.
Ensure proper ventilation in your workspace for safety and better drying results.
Want Us to Do the Job For You? Call Dayco
Ready to transform your business doors but prefer to leave it to the experts? Contact Dayco, where we specialize in
professional door painting services. Let us take care of your project so you can focus on what you do best. Contact us today for a consultation, and let's bring your vision to life!

We are always up for a new and challenging project! Contact us today for a consultation!

Contact Us
500 Zumwalt Ave.
Grandview, MO 64030
Fax: 816-763-2703
Hours: 8AM - 4:30PM Mon-Fri